Good audio quality is essential to making good recordings, and a microphone echo can throw an irritating wrench in that process. But how do you stop your microphone from echoing while using OBS studio?
To stop a microphone echo in OBS studio, check the audio mixer to see which source may be causing the echo. While talking, make sure that only one source is inputting sound, and mute the rest of them. If that doesn’t work, go to the audio settings and disable all devices but the right one.
Here are some more details about fixing your microphone echo and how to make your mic sound great in OBS.
How to Limit Your Audio Sources
If your microphone is echoing, you most likely have more than one audio source picking up your voice and adding it to the OBS recording.
Audio Mixer
The first thing to do is to check the audio mixer. That’s the center panel on the bottom of your scene with the green, yellow, and red bars. Each audio source has its own set of controls and indicators, and you can tell which ones are inputting audio by speaking into your mic.
When you speak, the colorful bars will light up to show how much sound they’re picking up. You only want one of those to pick up your voice, so mute any other source that lights up when you speak. Make sure you don’t have any computer audio going when you do this, as that will interfere with the test.
Settings
If muting the needless sources doesn’t work, try adjusting the audio settings. Click File at the top left, select Settings, and then Audio. In this menu, you’ll find a list of devices that can pick up audio for OBS. Disable all of them.
Then, enable them again one at a time, testing the audio by speaking to see if it echoes. When it starts to echo, then the last one you enabled is the device that’s causing the echo, and you know to keep that device disabled to prevent further echo problems.
If the echo persists after you’ve tried both of those methods, then it may be an issue with your computer. Troubleshoot your computer and your microphone to see if they’re causing the problem instead of OBS. If the echo doesn’t happen in another audio-related app, or if it only happens in OBS, then you know it’s not a computer issue.
How to Fix Your Room’s Acoustics to Stop Echoing
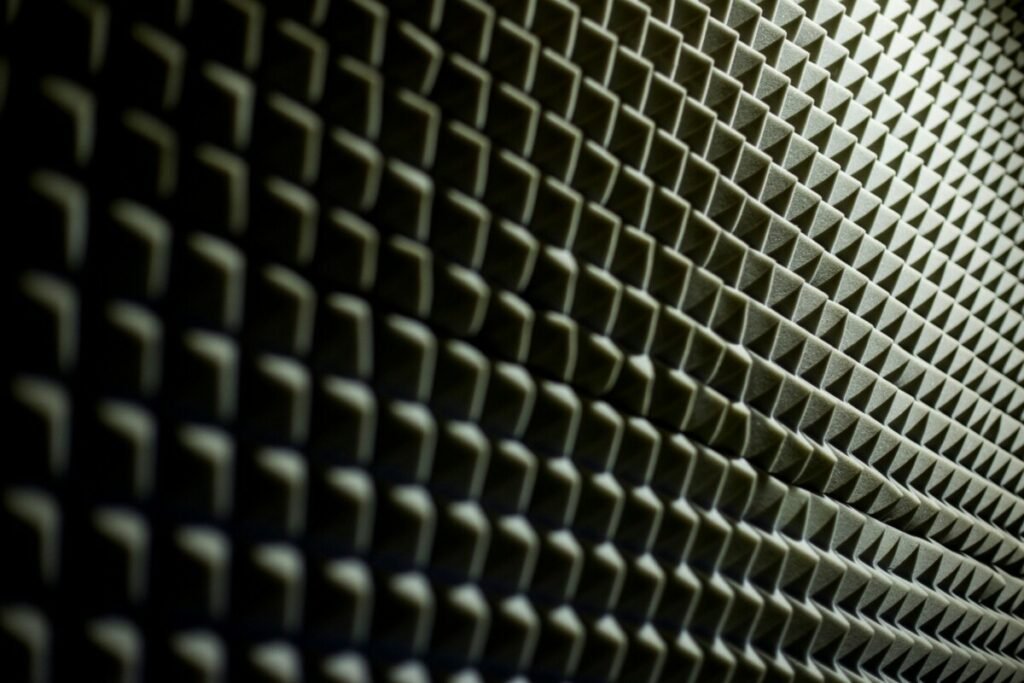
Another source of noise from echoing is the acoustics of the room you’re recording in. If you have a lot of hard surfaces around you, those could potentially bounce the sound back to your microphone and mess with your recording.
It’s not as hard to listen to as the double-voice issue of multiple mics picking up the same sound, but it’s not great quality, either.
If that’s the issue, then you’re going to want to try either experimenting with the OBS sound settings or fixing the acoustics in your recording room. It’s a good idea to do both anyway, and we’ll talk about OBS settings in a bit, but first let’s look at your soundproofing options.
Thick towels and carpets are both great for soundproofing. The thickness and crevices between fibers trap the sound waves, preventing them from bouncing back into the room and reaching your microphone. Choose fluffy towels with long fibers. For carpet, look for one made of wool with a high cut pile for the best results.
You can also try putting pillows around the surface of your desk, which will reduce the noise of your keyboard and echo off of the desk.
Foam is a popular soundproofing solution, but it’s not right for everyone. It’s a lot of work to install all of the individual panels of foam, and if your walls are made of cement or something similarly hard, the foam won’t be enough to dampen the reverberation they cause. It should do the job for a small room with walls of wood or drywall.
Sound blankets are a great choice for large rooms, and they work even if the walls are made of concrete. They’re easy to install, too. All you have to do is put in some screws and hang the blankets from them, since most have grommets built in. If you need video as well as audio, look for sound blankets that are black or white to avoid casting color on your film.
How to Get Great Sound on OBS Studio
It’s easy to get professional-quality sound through OBS if you have the right settings. It may take a little extra work if you have a complicated scene collection, but it will be worth it.
First, create a new profile and scene collection. This will allow you to start from the default settings, which is what you’ll need to make sure you end up with the right settings at the end of this process. If you somehow haven’t changed any audio settings yet, you can skip this step.
Click File at the top left, then choose Settings, and then click the Audio tab. At the top of that menu, change the Sample Rate to 44.1kHz, and choose Stereo for your channels.
Then, in the next list down, disable every single audio device. OBS tends to automatically select which devices to use for audio, but you don’t want that. You want to be the one choosing your devices.
Hit Apply and Ok, and then you can add your microphone by adding an Audio Input Capture in the source panel of the scene. OBS will add it to your Audio mixer, and you’ll start to see the colored bar lighting up when you speak. You want that to show -3 dB, so click the cog beside it and choose Filters.
Add a Noise Suppression filter and a Compressor filter. The Noise Suppression will get rid of any minor background noise, and the Compressor will help keep the volume even.
With those in place, speak into your microphone and watch the colored bar. If it gets to -3 dB, then you’re good, but if it’s short of that, you’re going to want to add a Gain filter.
The number you input for the gain will depend on the difference between your current decibel level to -3 dB, so manually adjust it as needed. Test it out, and lower it if you peak.


